Part of KUdos Custom Electronics Stack
KUdos 2025-2026 Robot Code
The competition robot code for KUdos VEX-U, implementing autonomous routines and driver control with custom chassis systems.
Project Overview
This is the competition robot code for the KUdos VEX-U team, built on the PROS framework. The code implements autonomous routines, driver control, and integrates with the custom coprocessor system for enhanced sensing and control.
The 2025-2026 season game is "Pushback," and this codebase was developed for the World Championship competition.
Role: Software developer
Tech Stack: C++, PROS, Custom libraries
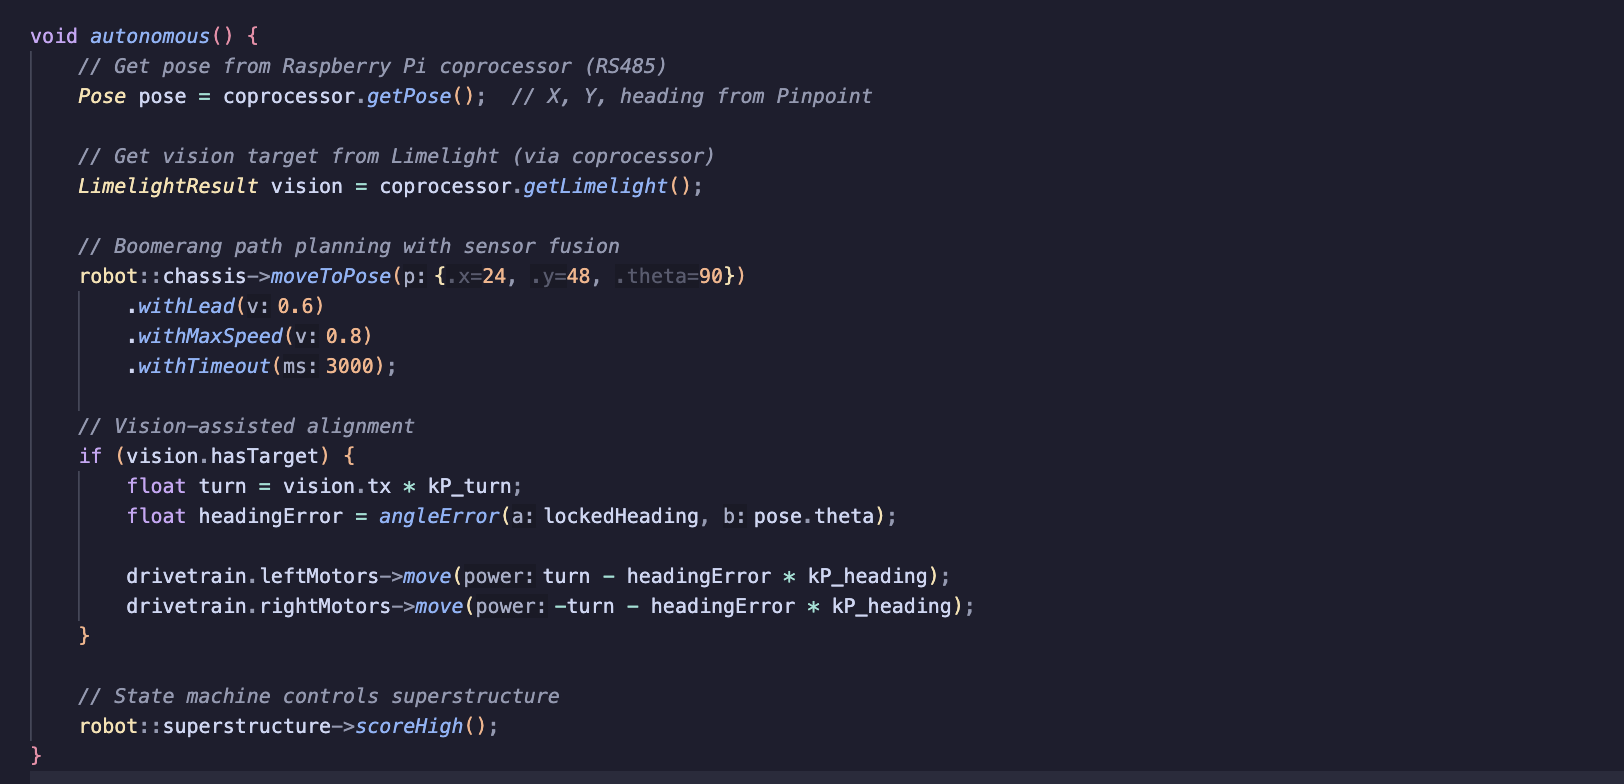
Robot Configuration
- Drivetrain: H-drive chassis with custom control algorithms
- Coprocessor: Raspberry Pi Zero 2W with custom expansion HAT
- Vision: Limelight camera for game piece detection
Code Structure
src/
├── main.cpp           # Entry point, competition callbacks
├── autons.cpp         # Autonomous routines
└── kudos/
    ├── chassis/       # H-drive chassis implementation
    └── control/       # PID and feedforward controllers
Autonomous Routines
The autonomous system uses a fluent API for path planning:
// Example: curved path with specified arrival heading
robot::chassis->moveToPose({24, 24, 90})
    .withLead(0.6)           // Lead distance (0.3-0.7, higher = wider arc)
    .withMaxSpeed(0.8)       // Max speed [0-1]
    .withTimeout(3000);      // 3 second timeout

// Chain movements with smooth transitions
robot::chassis->moveToPose({48, 24, 0})
    .withLead(0.5)
    .withMinSpeed(0.2)       // Keep moving, exit when crossing target line
    .withTimeout(2500);

// Force backwards movement
robot::chassis->moveToPose({24, 0, 180})
    .backwards()
    .withLead(0.4)
    .withTimeout(3000);
The autonomous routines are selected via LCD touch before the match starts. Available routines include separate alliance-colored autons and a skills routine.
Control Systems
Boomerang Path Planning
The chassis uses a "boomerang" algorithm for curved paths to poses. Instead of driving straight then turning, the robot curves smoothly to arrive at the target with the correct heading.
The algorithm computes a carrot point offset behind the target along its heading direction. The robot aims for this carrot point, which creates a curved approach path:
// Carrot is offset behind target along its heading direction
double leadDist = params.lead * distTarget;
carrot.x = target.x - targetDirX * leadDist;
carrot.y = target.y - targetDirY * leadDist;
When the robot gets close to the target, it switches to aiming directly at the final pose. The algorithm also supports early exit when the robot crosses the target line, enabling smooth movement chaining.
PID Controllers
The chassis uses separate PID controllers for different motion types:
- Lateral PID: Forward/backward motion toward targets
- Angular PID: Heading correction during straight-line motion
- Strafe PID: Sideways motion for the H-drive center wheels
- Boomerang Angular PID: Separate tuning for curved path following
Each controller has configurable gains and settling thresholds defined in the robot configuration.
H-Drive Arcade Control
Driver control uses arcade-style inputs with three axes for the H-drive:
robot::chassis->arcade(
    ctrl.getAnalogScaled(Axis::LEFT_Y, 12000),    // Forward/back
    ctrl.getAnalogScaled(Axis::LEFT_X, 12000),    // Strafe
    -ctrl.getAnalogScaled(Axis::RIGHT_X, 12000) * 0.9  // Turn
);
Coprocessor Integration
The robot code communicates with the Raspberry Pi coprocessor to get odometry data from the Pinpoint sensor and vision data from the Limelight camera.
The odometry system provides:
- Field pose: X, Y position in inches, heading in degrees
- Velocity: Linear and angular velocity for motion prediction
- IMU calibration: Blocking reset for reliable zeroing before autonomous
The coprocessor handles the sensor fusion, and the robot code queries for bulk data (message ID 50) to get all sensor readings in a single request, minimizing communication latency during high-speed autonomous routines.
Superstructure Controls
The robot's superstructure (intake, outtake, wing) is controlled through a state machine:
// L1 - Intake (no shift) / Eject All (with shift)
if (ctrl.wasJustPressed(Btn::L1)) {
    if (ctrl.isShiftPressed()) {
        robot::superstructure->outtakeAll();
    } else {
        robot::superstructure->startIntake();
    }
}

// R1 - Score: Tap = pre-open, Hold = score
if (ctrl.wasJustPressed(Btn::R1)) {
    robot::superstructure->preOpenFlapHigh();
}
if (ctrl.holdJustTriggered(Btn::R1)) {
    robot::superstructure->scoreHigh();
}
The controller class supports shift buttons and hold detection, allowing multiple functions per button.
Controller Class
The robot uses a custom controller wrapper that adds tap/hold detection and shift key support on top of the PROS controller API:
class Controller {
public:
    explicit Controller(pros::controller_id_e_t id, uint32_t holdThresholdMs = 150);

    void update();  // Call once per loop

    // Basic state queries
    bool isPressed(Button btn) const;
    bool wasJustPressed(Button btn) const;
    bool wasJustReleased(Button btn) const;

    // Tap = pressed and released quickly (< holdThreshold)
    bool wasTapped(Button btn) const;

    // Hold = pressed longer than threshold
    bool isHeld(Button btn) const;
    bool holdJustTriggered(Button btn) const;

    // Shift support
    void setShiftButton(Button btn);
    bool isShiftPressed() const;
    bool isPressedWithShift(Button btn, bool requireShift) const;
};
This enables complex control schemes where:
- Tap performs one action
- Hold performs a different action
- Shift+Button performs a third action
For example, R1 on the scoring system:
- Tap R1: Pre-open the scoring flap (prepare to score)
- Hold R1: Actually score (flap fully opens, rollers spin)
- Shift+Tap R1: Pre-open for low goal instead of high
Boomerang Algorithm Details
The boomerang algorithm has several phases and behaviors that make it robust for competition use:
1. Direction Auto-Detection
The algorithm determines whether to drive forwards or backwards based on the angle to the target:
double angleToTarget = current.angleTo(target);
double headingDiff = std::abs(angularError(current.heading, angleToTarget));

// If target is more than 90° from current heading, go backwards
bool forwards = (headingDiff <= 90.0);
This can be overridden with .backwards() or .forwards() for specific movements.
2. Carrot Point Calculation
The lead distance creates curves of varying tightness:
| Lead Value | Effect |
|---|---|
| 0.3 | Tight curve, arrives nearly straight |
| 0.5 | Moderate curve (default) |
| 0.7 | Wide curve, sweeping approach |
3. Close Mode Behavior
When within 12 inches of the target, the algorithm enters "close mode":
- Switches from aiming at the carrot to aiming at the final pose
- Progressively reduces max speed based on distance
- Limits angular output to prevent aggressive turning that causes wheel slip
if (distTarget < 12.0 && !close) {
    close = true;
}

if (close) {
    // Scale speed: at 12in = 80 power, at 0in = 40 power
    double scaledSpeed = 40.0 + (distTarget / 12.0) * 40.0;
    maxSpeed = std::fmin(maxSpeed, scaledSpeed);
    maxAngular = maxSpeed * 0.70;  // Limit turn power when close
}
4. Early Exit for Chaining
When minSpeed > 0, the robot can exit early when it crosses the target line, enabling smooth movement chaining:
// Check which side of target line we're on
double robotSideVal = (current.y - target.y) * (-targetDirX) -
                      (current.x - target.x) * (-targetDirY);
bool sameSide = (robotSideVal <= params.earlyExitRange);

if (!sameSide && prevSameSide && close && params.minSpeed > 0) {
    break;  // Crossed the line, exit early
}
5. Slip Prevention
The algorithm limits speed based on path curvature to prevent wheel slip on tight turns:
double curvature = getCurvature(current, carrot, currentHeadingRad);
double radius = (std::fabs(curvature) > 0.001) ? 1.0 / std::fabs(curvature) : 1000.0;
double maxSlipSpeed = std::sqrt(horizontalDrift * radius * 9.8);
lateralOut = clampSymmetric(lateralOut, maxSlipSpeed);
Builder Pattern for Fluent API
Each movement type returns a builder object that collects parameters before execution:
class BoomerangBuilder {
public:
    BoomerangBuilder& withLead(double lead);
    BoomerangBuilder& withMaxSpeed(double speed);
    BoomerangBuilder& withMinSpeed(double speed);
    BoomerangBuilder& withTimeout(uint32_t ms);
    BoomerangBuilder& backwards();
    BoomerangBuilder& forwards();

    // Destructor executes the movement when builder goes out of scope
    ~BoomerangBuilder() { if (!executed_) go(); }

private:
    void go();  // Actually execute the movement
};
The destructor ensures the movement executes even without an explicit .go() call, making the API more intuitive.
Autonomous Selection
The auton selector runs during competition_initialize() before the match starts:
void competition_initialize() {
    const char* autonNames[] = {"DO NOTHING", "TEST DRIVE", "BOOMERANG", "RED", "BLUE", "SKILLS"};

    while (!pros::competition::is_autonomous()) {
        pros::lcd::print(3, "Auton: %s", autonNames[selection]);

        if (pros::lcd::read_buttons() & LCD_BTN_CENTER) {
            selection = (selection + 1) % autonCount;
            pros::delay(300);  // Debounce
        }
        pros::delay(50);
    }
}
This allows the drive team to select different autonomous routines for different starting positions or alliance colors without recompiling.
Debug Output
The chassis provides detailed debug output during movements for tuning and debugging:
[Boom] START: cur=(0.0,0.0,0.0) tgt=(24.0,24.0,90.0) angleToTgt=45.0 headingDiff=45.0 -> FORWARDS
[Boom] pos=(5.2,4.8,38.2) dist=26.1 hErr=6.8 L/R=(85,72) max=102
[Boom] pos=(12.3,11.5,62.5) dist=17.0 hErr=4.2 L/R=(78,65) max=102
[Boom] ENTERING CLOSE at (20.1,21.3,85.2) dist=5.1
[Boom] pos=(23.2,23.5,88.7) dist=1.2 hErr=1.3 L/R=(42,38) max=44 CLOSE
[Boom] SETTLED at (24.1,24.0,89.8) tgt=(24.0,24.0,90.0)
[Boom] AFTER BRAKE: (24.0,24.0,90.0)
This output is invaluable for debugging autonomous routines and tuning PID gains.
Limelight Auto-Align
One of the advanced features is vision-based alignment for the match loader. The limelightLoaderAlign function uses the Limelight camera to automatically align with the loader station in two phases:
Phase 1: Turn to Center Target
The robot turns in place until the target is centered in the camera view (tx ≈ 0):
// P-loop turn on filtered tx
float turn = filteredTx * params.turnKp;

// Apply minimum turn speed to overcome friction
const float minTurnSpeed = 22.0f;
if (turn > 0 && turn < minTurnSpeed) turn = minTurnSpeed;

drivetrain.leftMotors->move(turn);
drivetrain.rightMotors->move(-turn);
Once centered, the current heading is locked from the Pinpoint odometry.
Phase 2: Drive to Target
With heading locked, the robot drives the specified distance while maintaining the locked heading:
// P-loop drive on distance error
float drive = distanceError * params.driveKp;

// Heading correction using locked heading from Phase 1
float headingError = angleError(lockedHeading, poseRad.theta);
float turn = headingErrorDeg * params.headingKp;

// Arcade drive (backwards)
float leftPower = drive - turn;
float rightPower = drive + turn;
Neural Network Mode
For Limelight pipelines using neural network detection, the algorithm includes latency compensation:
// Compensate for neural network processing latency
float latencySec = params.nnLatencyMs / 1000.0f;
float compensation = angularVelocityDegPerSec * latencySec;
txCorrected = result.tx + compensation;

// Exponential filter to smooth tx and reduce oscillation
filteredTx = txFilterAlpha * txCorrected + (1.0f - txFilterAlpha) * filteredTx;
The angular velocity is estimated from IMU data to predict where the target will be by the time the robot responds, compensating for the ~100-200ms neural network processing delay.
State Machine Architecture
The robot's superstructure (intake, indexer, outtake) is managed through a state machine that coordinates complex multi-step operations:
enum class RobotState {
    IDLE,
    INTAKING,
    TRANSITIONING_HOOD_UP,    // Hood moving up
    TRANSITIONING_HOOD_DOWN,  // Hood moving down
    WAITING_FOR_GATE,         // Waiting for gate to open
    SCORING_HIGH,
    SCORING_LOW,
    SCORING_FLOOR,
    EJECTING
};
State Transitions
The state machine handles timed transitions automatically. For example, when scoring high with the hood in the low position:
- IDLE → TRANSITIONING_HOOD_UP: Start raising hood, back up balls
- TRANSITIONING_HOOD_UP → WAITING_FOR_GATE: After 400ms, open gate
- WAITING_FOR_GATE → SCORING_HIGH: Once gate is open, start feeding
void update() {
    // Handle hood UP transition
    if (currentState == RobotState::TRANSITIONING_HOOD_UP) {
        if (pros::millis() - stateStartTime > HOOD_TRANSITION_TIME_MS) {
            outtake->setHoodHigh();

            if (targetScoringState == RobotState::SCORING_HIGH) {
                currentState = RobotState::WAITING_FOR_GATE;
                outtake->startFeeding();
            } else {
                currentState = RobotState::IDLE;
            }
        }
    }

    // Handle gate opening -> start scoring
    if (currentState == RobotState::WAITING_FOR_GATE) {
        if (outtake->isFeeding()) {
            currentState = targetScoringState;
            indexer->startFeeding();  // Start feeding balls!
        }
    }
}
Color-Based Scoring
The state machine integrates with optical sensors for autonomous ball sorting:
// Score until a red ball is detected at the pre-nozzle sensor
robot.scoreHighUntilColor(BallColor::RED, 5000);

// Wait for sensor to clear (no ball detected for 100ms)
robot.waitForClear(100, 5000);

// Monitor last ball color at nozzle for precise stopping
robot.scoreHighWithLastBall(BallColor::BLUE, 5000);
This allows autonomous routines to score specific ball counts or stop when detecting the opponent's color.
Robot Auto-Detection
The code automatically detects which robot it's running on based on the Raspberry Pi's robot ID:
uint8_t robotId = pinpoint.robot_id();

if (robotId == 0) {  // Blue robot
    goldRobot = false;
    controller.rumble(".");  // Single short rumble
} else if (robotId == 1) {  // Gold robot
    goldRobot = true;
    controller.rumble("..");  // Two short rumbles
}
This enables:
- Different PID tuning per robot (each robot has slightly different characteristics)
- Robot-specific autonomous routines (Blue and Gold start on opposite sides)
- Automatic selector configuration based on which robot is detected
// Different boomerang PID for each robot
lemlib::ControllerSettings selectedBoomerang = goldRobot
    ? goldBoomerangAngularController
    : boomerangAngularController;
Tech Stack
| Area | Tools |
|---|---|
| Framework | PROS |
| Language | C++ |
| Controllers | Custom PID, Feedforward |
| Vision | Limelight via coprocessor |
More in KUdos Custom Electronics Stack
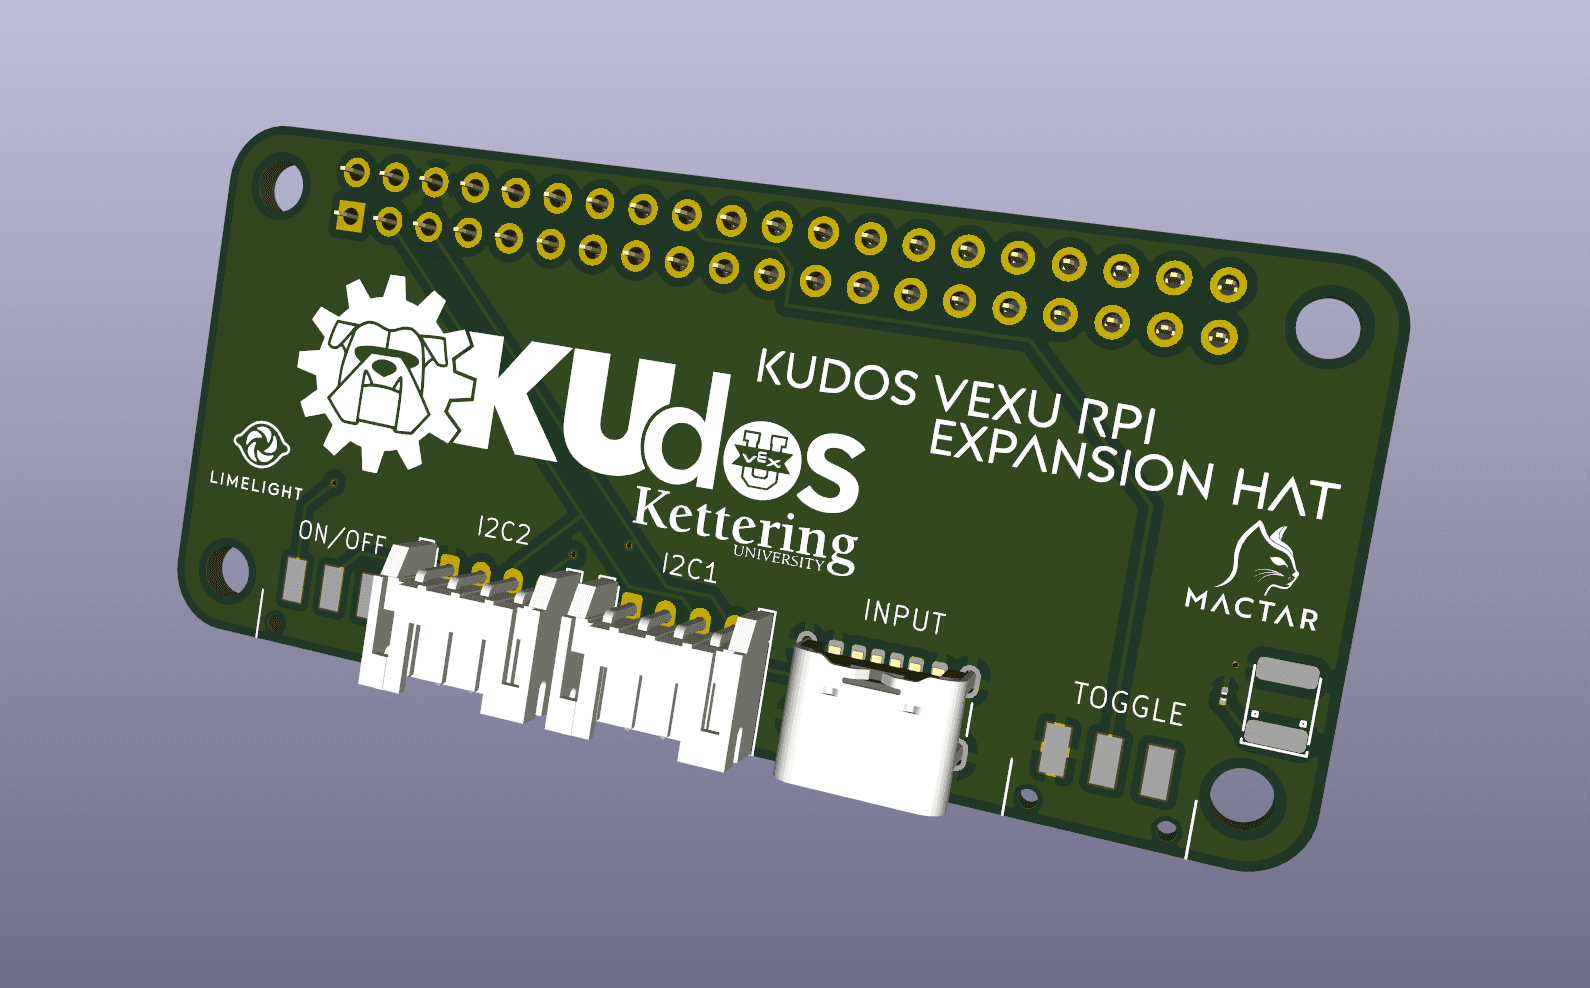
KUdos RPi Expansion HAT
A custom PCB for Raspberry Pi Zero 2W providing I2C interfacing and native RS485 communication for VEX-U robotics.
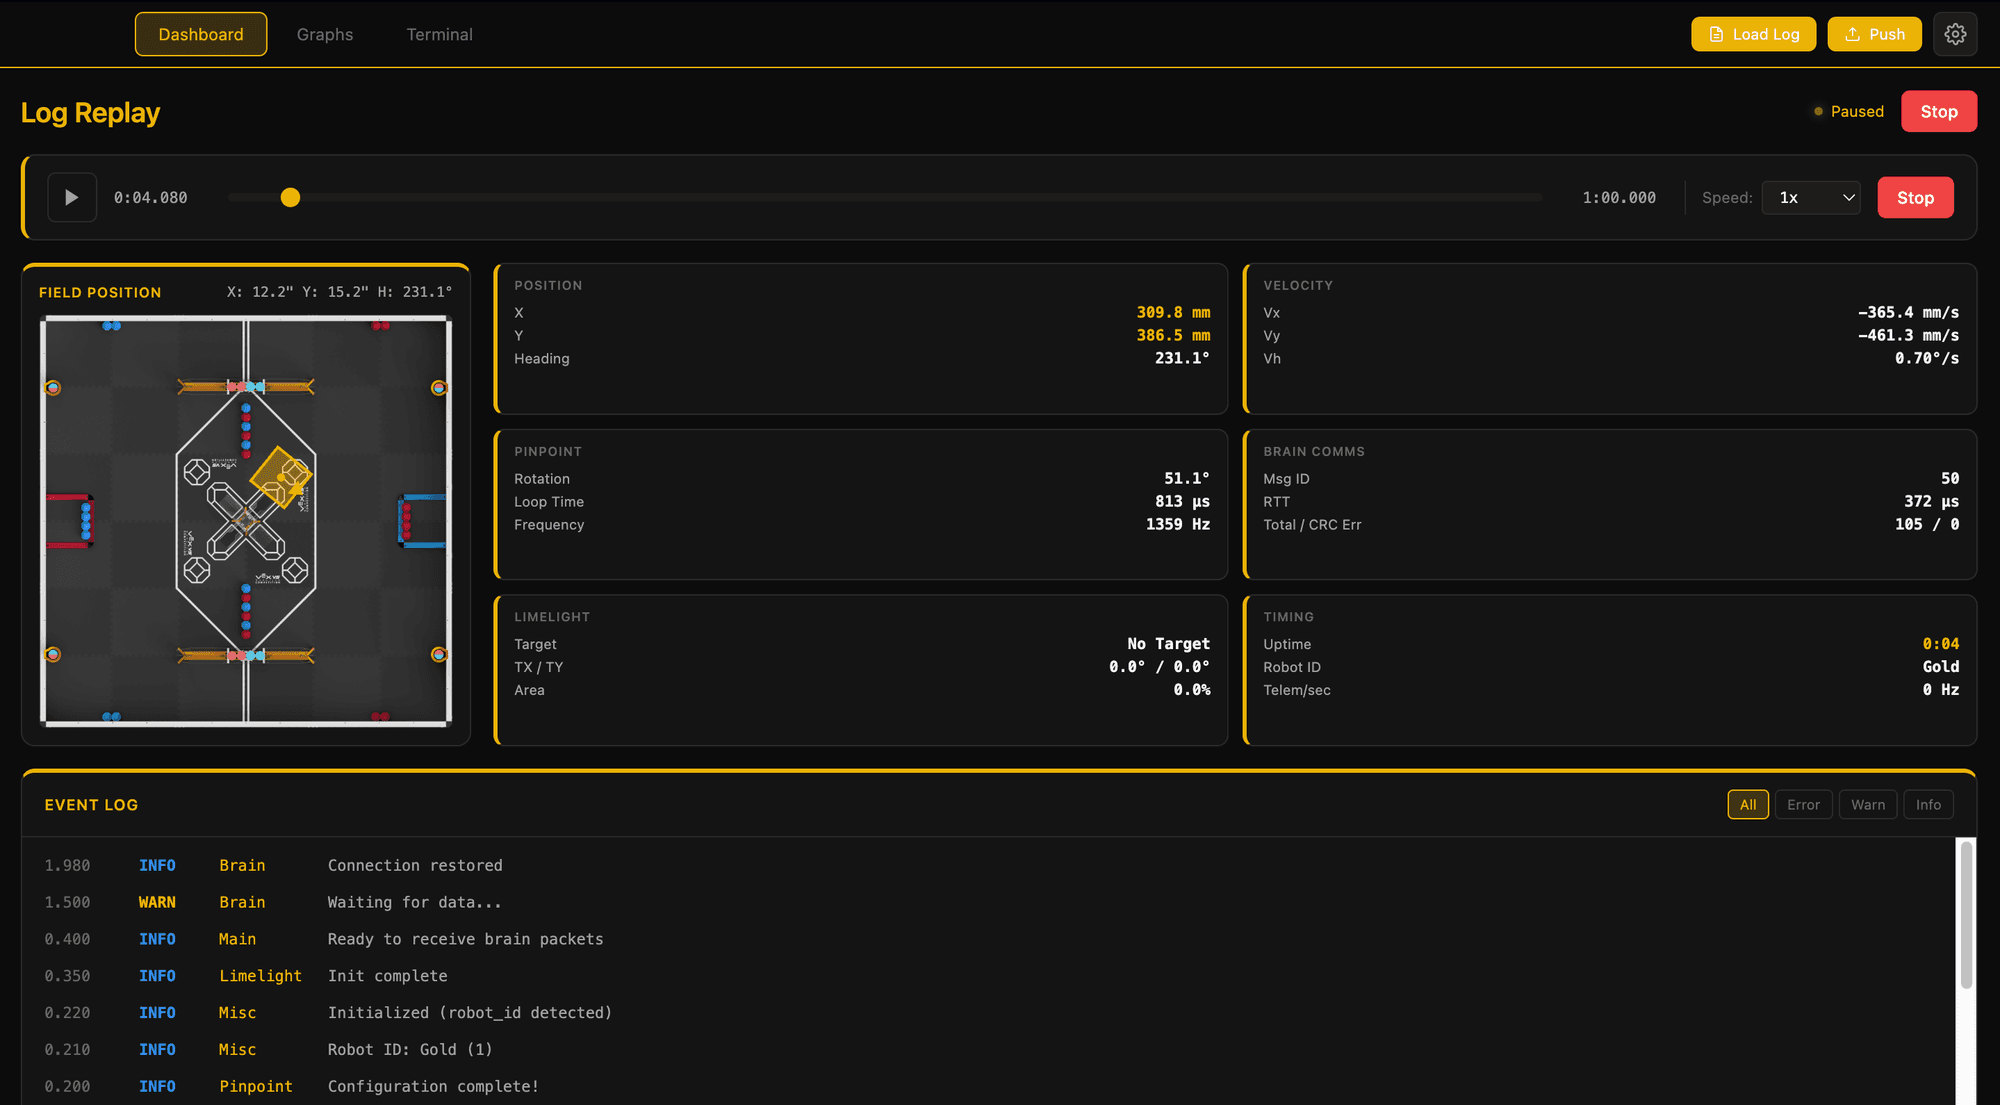
KUdos Robot Manager
An Electron desktop app for managing VEX-U robots with SSH deployment, Limelight tunneling, and live terminal access.
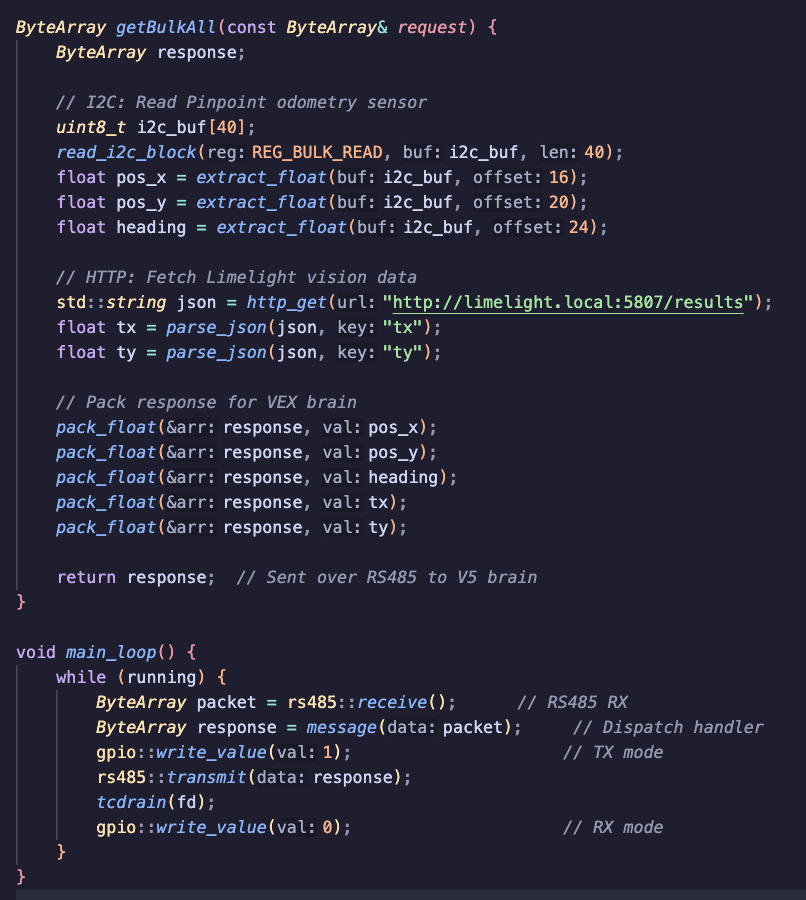
KUdos Coprocessor Firmware
The firmware running on the Raspberry Pi coprocessor for sensor fusion, vision processing, and communication with the VEX brain.
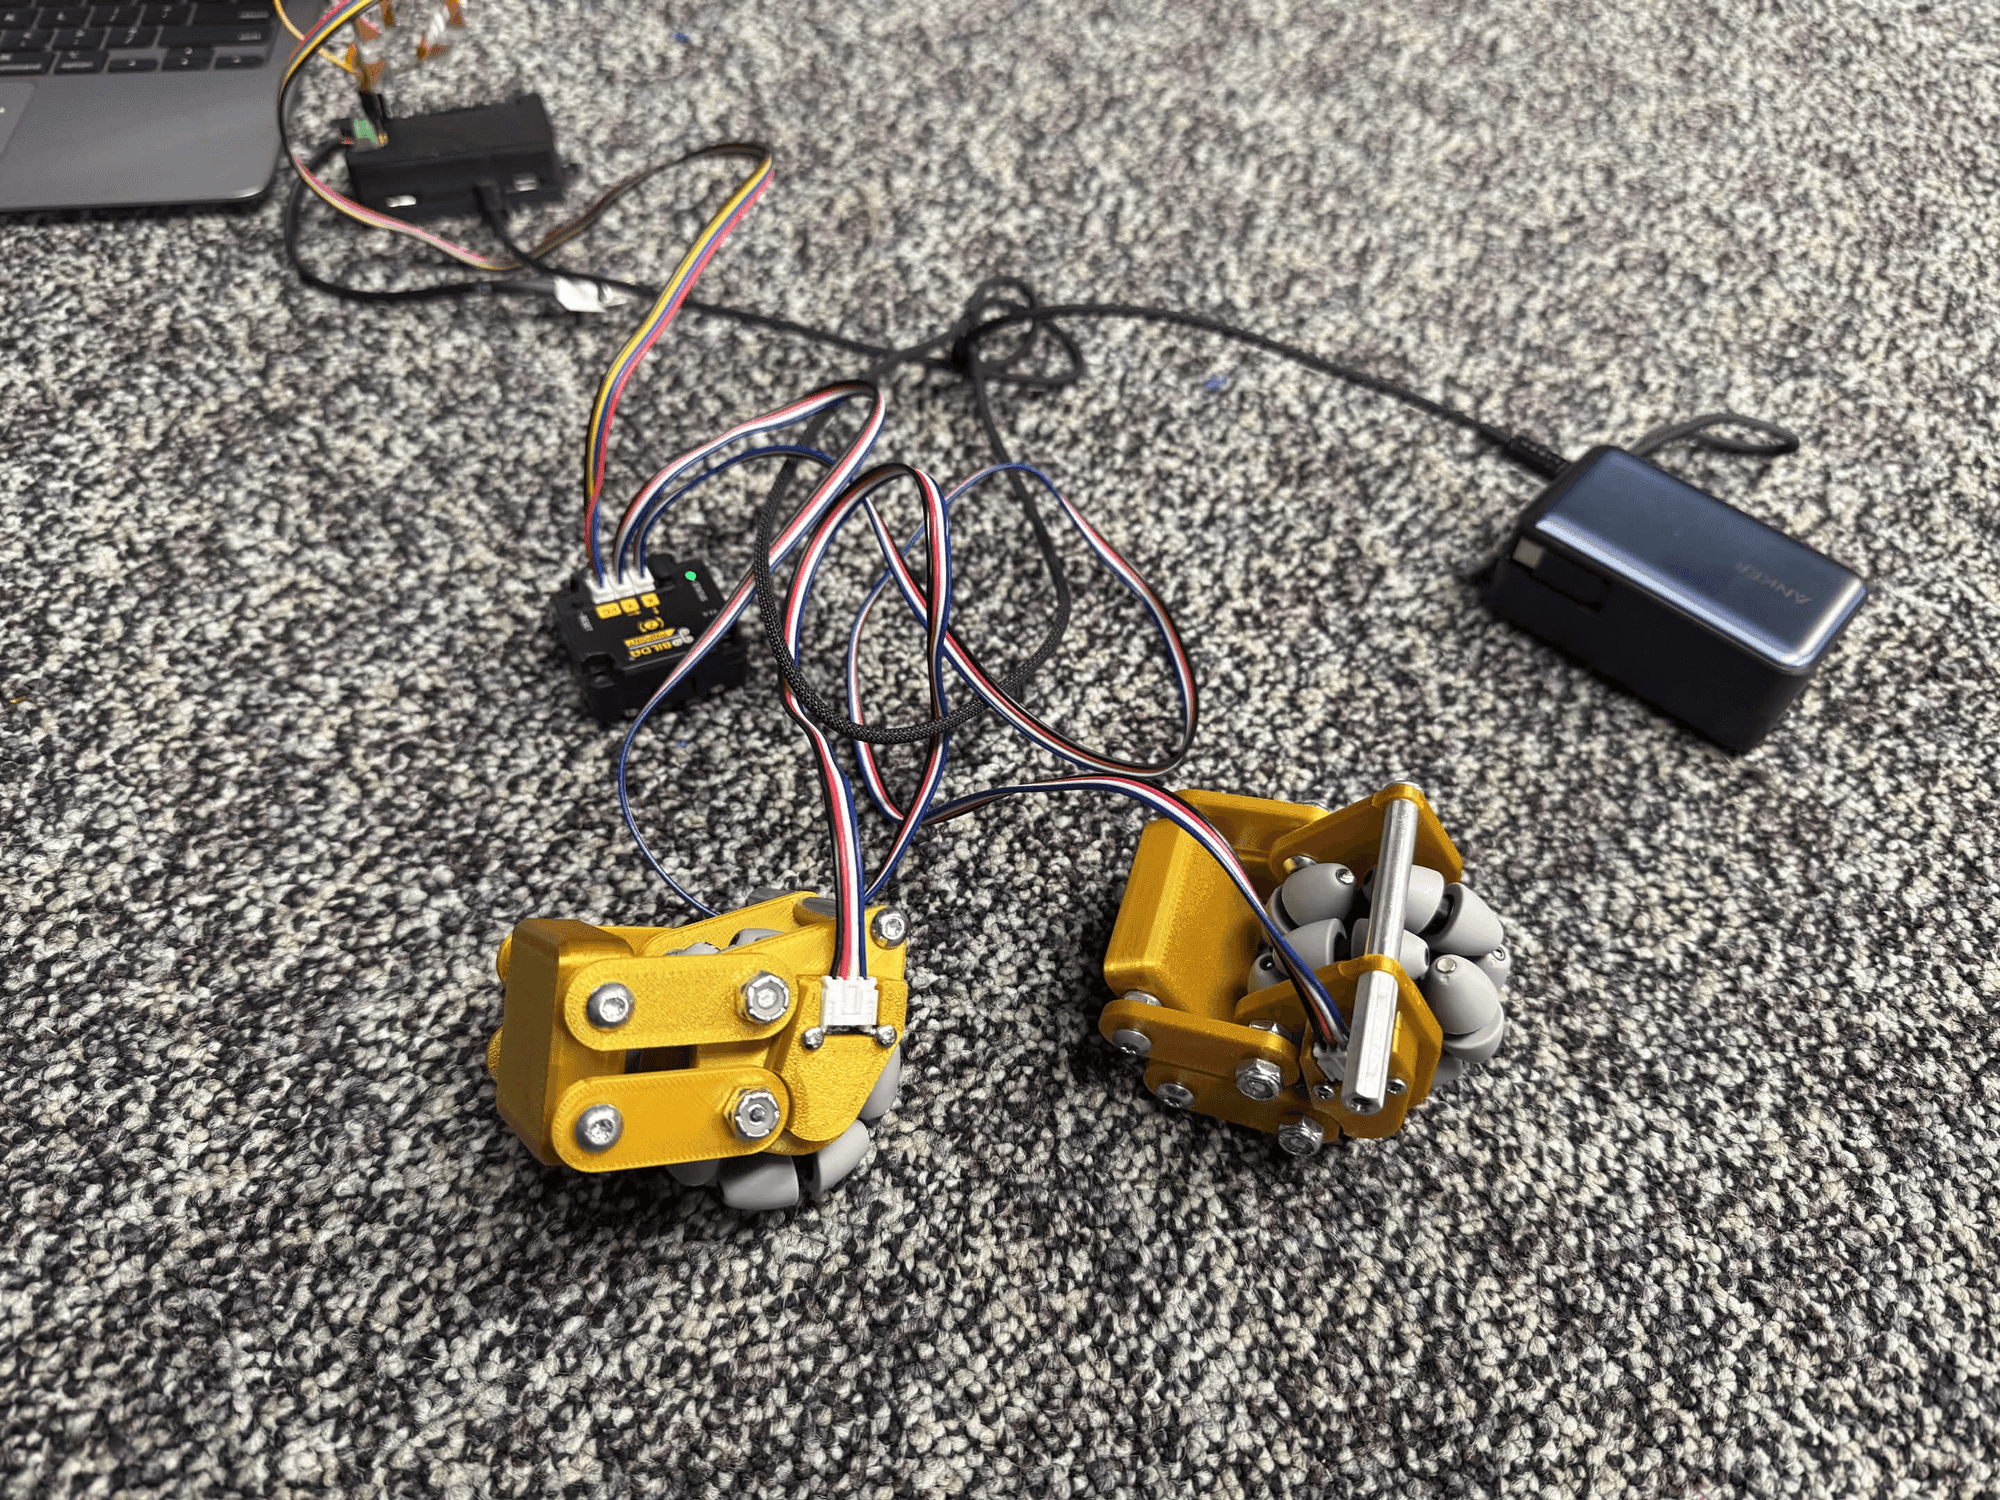
KUdos Electronics Bringup
The real-world integration and testing of the custom electronics stack on competition robots.
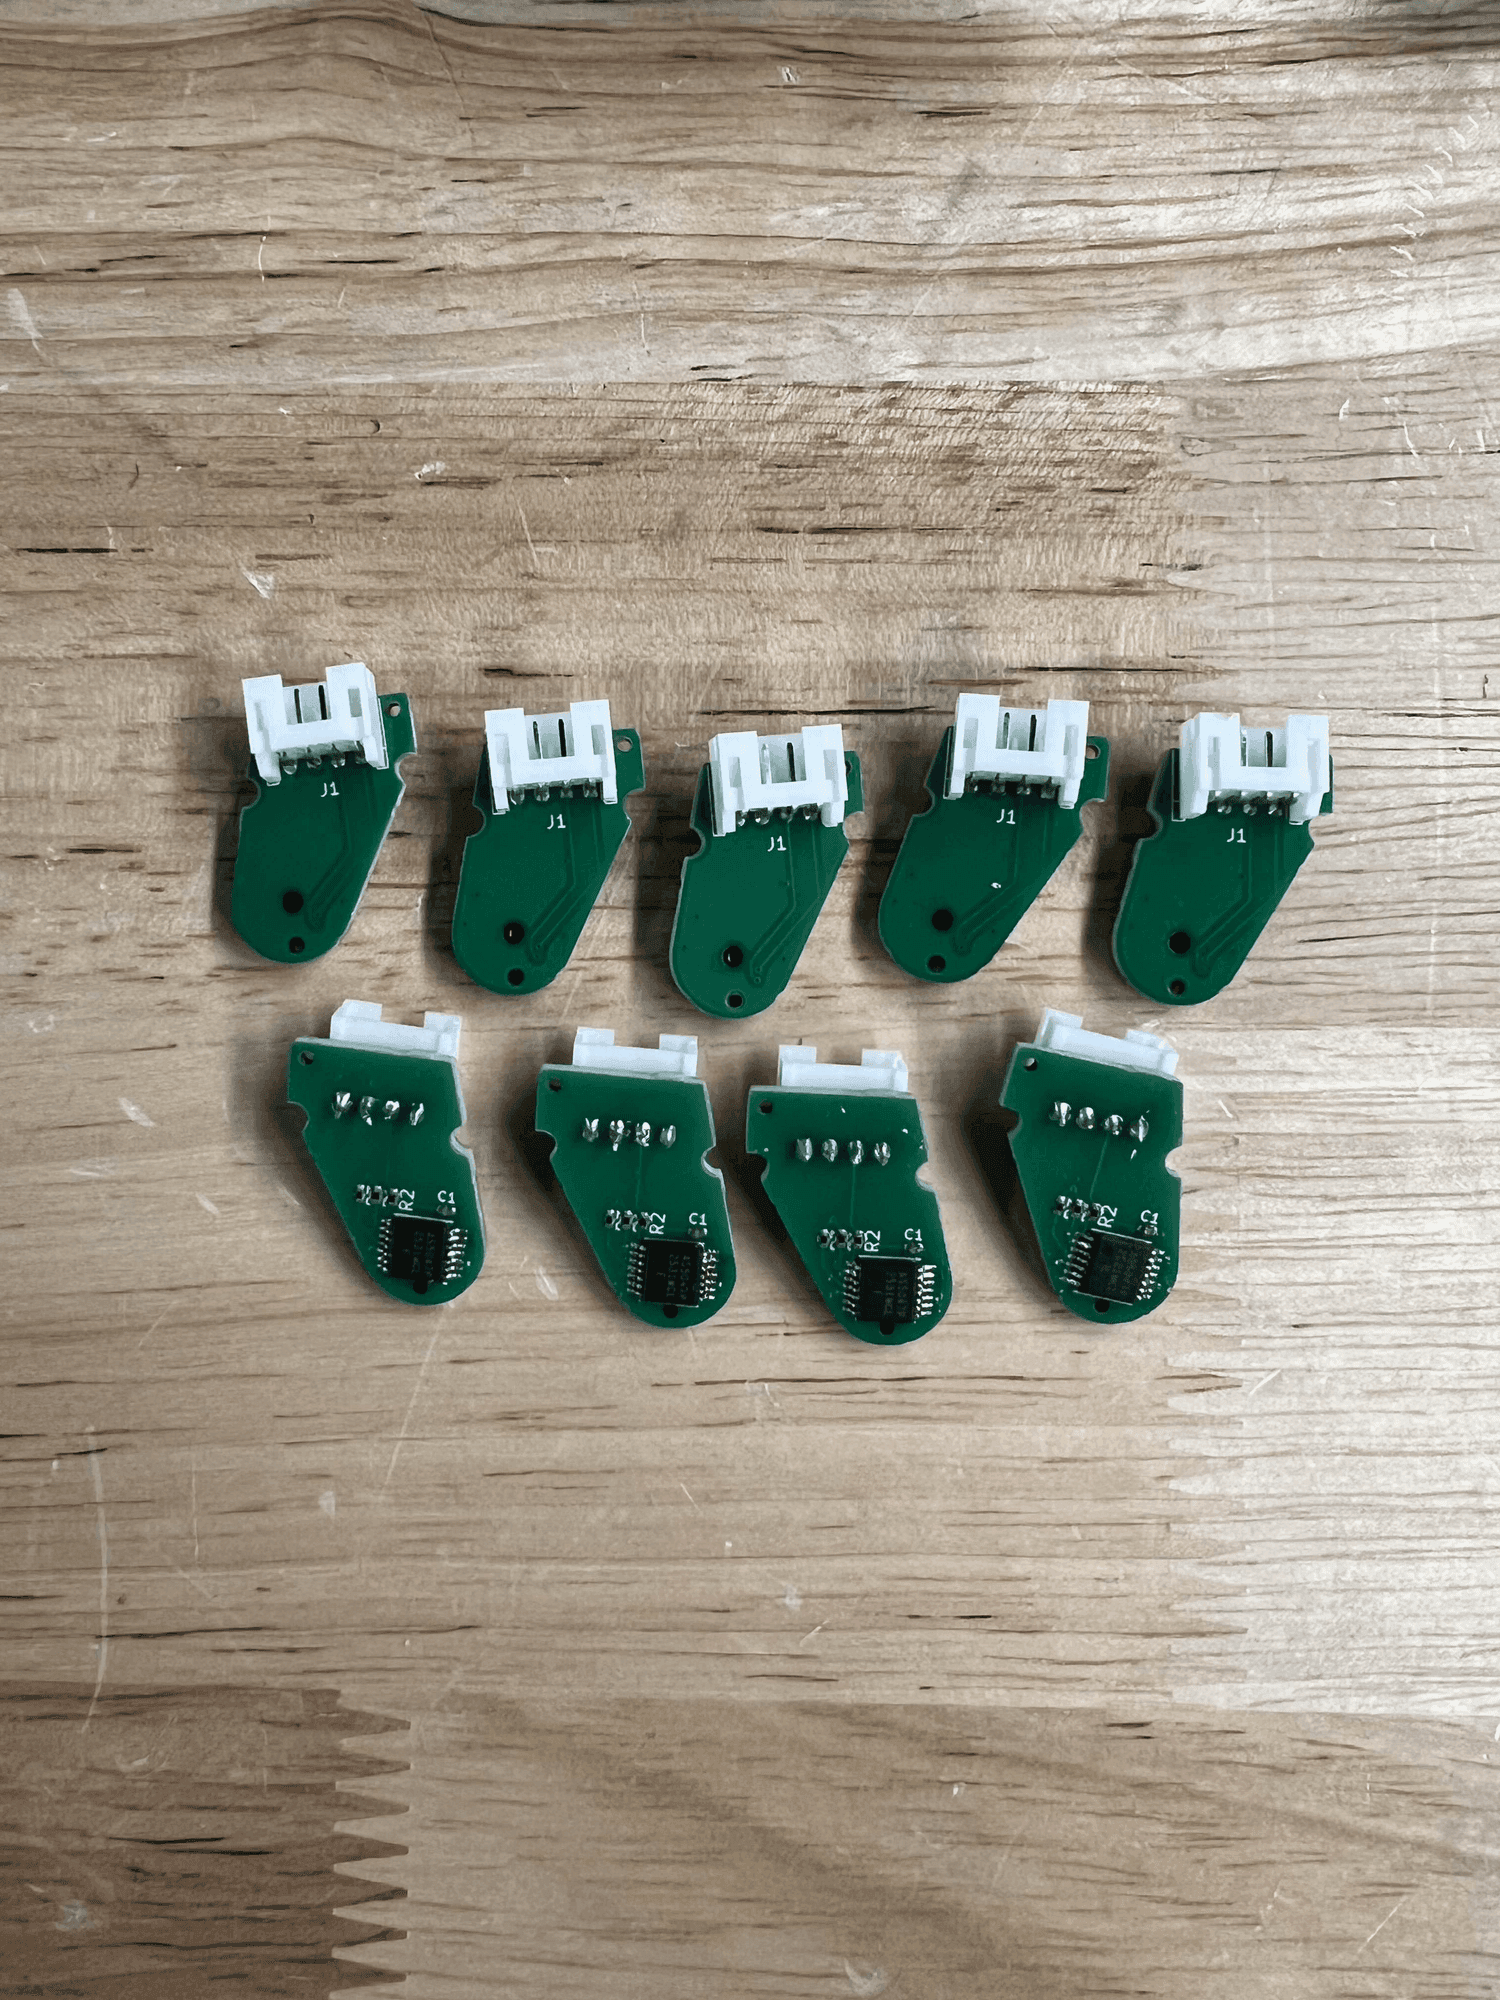
KUdos Magnetic Encoder
A custom quadrature magnetic encoder PCB using the AS5047P for high-resolution odometry on VEX-U robots.